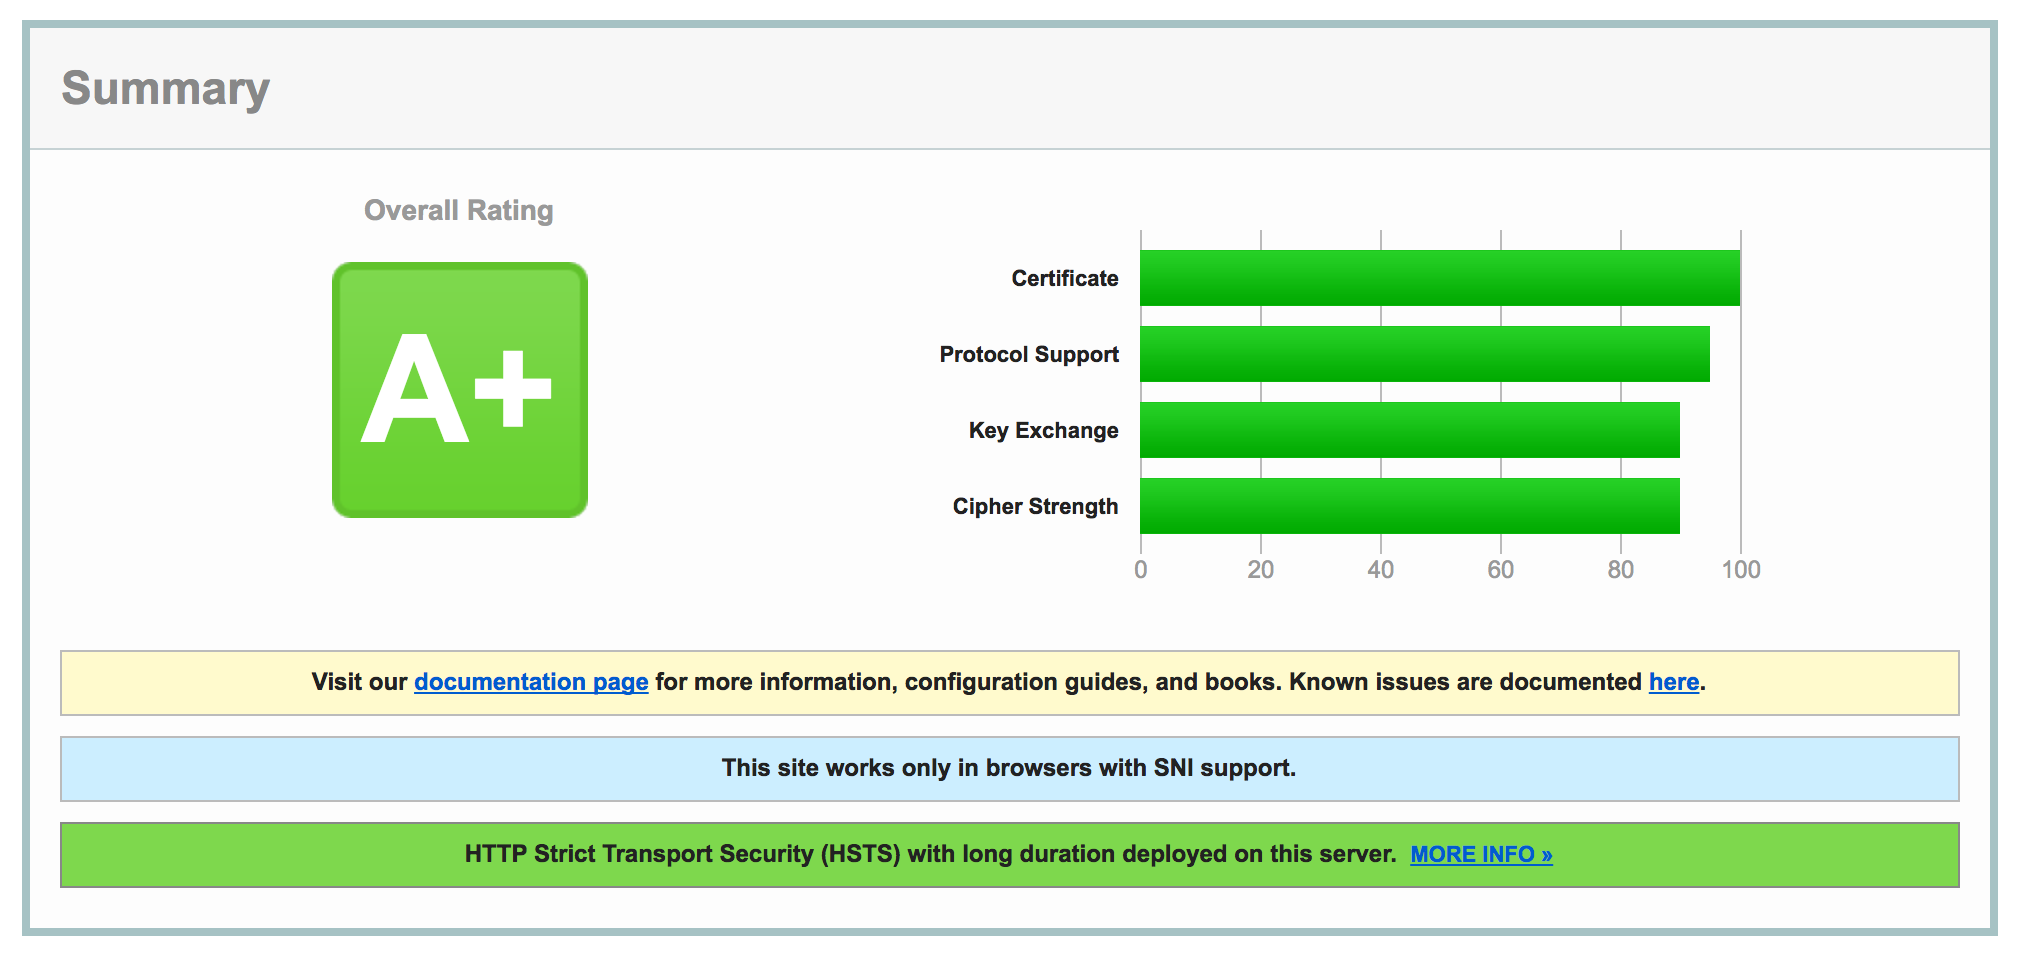
Getting WordPress running properly on Apache with Nginx running as a reverse proxy is surprisingly difficult. It took me quite awhile to get all the moving parts in order, but it’s great once you get it all done. Plus, it’s really cool to get an A+ rating from SSL Labs:
Configuring Nginx for the Switch to HTTPS
Luckily, I figured out the proper configuration to use for Nginx. It took me quite a bit of trial and error, but here’s a sample of the configuration you can use to facilitate your switch:
server {
    listen 80;

    server_name example.com;
    server_tokens off;

    root /usr/share/httpd/example.com;
    index index.php index.html index.htm;

    location / {
        try_files $uri @apache;
    }

    location @apache {
        proxy_set_header X-Real-IP  $remote_addr;
        proxy_set_header X-Forwarded-For $remote_addr;
        proxy_set_header X-Forwarded-Proto $scheme;
        proxy_set_header Host $host;
        proxy_pass http://127.0.0.1:8081;
    }

    location ~[^?]*/$ {
        proxy_set_header X-Real-IP  $remote_addr;
        proxy_set_header X-Forwarded-For $remote_addr;
        proxy_set_header X-Forwarded-Proto $scheme;
        proxy_set_header Host $host;
        proxy_pass http://127.0.0.1:8081;
    }

    location ~ \.php$ {
        proxy_set_header X-Real-IP  $remote_addr;
        proxy_set_header X-Forwarded-For $remote_addr;
        proxy_set_header X-Forwarded-Proto $scheme;
        proxy_set_header Host $host;
        proxy_pass http://127.0.0.1:8081;
    }

    location ~/\. {
        deny all;
        access_log off;
        log_not_found off;
    }

    # We'll use this later
    # return 301 https://$server_name$request_uri;
}

server {
    listen 443 ssl;

    server_name example.com;
    server_tokens off;

    root /usr/share/httpd/example.com;
    index index.php index.html index.htm;

    ssl on;
    ssl_certificate /etc/letsencrypt/live/example.com/fullchain.pem;
    ssl_certificate_key /etc/letsencrypt/live/example.com/privkey.pem;

    # Ciphers recommended by Mozilla (wiki.mozilla.org/Security/Server_Side_TLS#Recommended_configurations)
    ssl_ciphers 'ECDHE-ECDSA-AES256-GCM-SHA384:ECDHE-RSA-AES256-GCM-SHA384:ECDHE-ECDSA-CHACHA20-POLY1305:ECDHE-RSA-CHACHA20-POLY1305:ECDHE-ECDSA-AES128-GCM-SHA256:ECDHE-RSA-AES128-GCM-SHA256:ECDHE-ECDSA-AES256-SHA384:ECDHE-RSA-AES256-SHA384:ECDHE-ECDSA-AES128-SHA256:ECDHE-RSA-AES128-SHA256';
    ssl_prefer_server_ciphers on;
    ssl_dhparam /usr/share/nginx/dhparams.pem;

    location / {
        try_files $uri @apache;
    }

    location @apache {
        proxy_set_header X-Real-IP  $remote_addr;
        proxy_set_header X-Forwarded-For $remote_addr;
        proxy_set_header X-Forwarded-Proto $scheme;
        proxy_set_header Host $host;
        proxy_pass http://127.0.0.1:8081;
    }

    location ~[^?]*/$ {
        proxy_set_header X-Real-IP  $remote_addr;
        proxy_set_header X-Forwarded-For $remote_addr;
        proxy_set_header X-Forwarded-Proto $scheme;
        proxy_set_header Host $host;
        proxy_pass http://127.0.0.1:8081;
    }

    location ~ \.php$ {
        proxy_set_header X-Real-IP  $remote_addr;
        proxy_set_header X-Forwarded-For $remote_addr;
        proxy_set_header X-Forwarded-Proto $scheme;
        proxy_set_header Host $host;
        proxy_pass http://127.0.0.1:8081;
    }

    location ~/\. {
        deny all;
        access_log off;
        log_not_found off;
    }
}
Now for some explanation of what’s going on in that configuration file. First, we catch any unsecured traffic – that’s the directive that says listen 80. This part is just a temporary provision to allow us to accept both HTTP and HTTPS traffic while we’re getting things set up. Later on, we’ll adjust the config to redirect all the HTTP traffic to HTTPS, forcing secured connections. For now, though, you’ll notice that the first server block for http and the second server block for https contain large blocks that are identical – that’s because for now they do pretty much the same thing – just one with encryption and one without.
In our second server block, we actually configure the stuff that matters. First, we enable ssl and tell nginx where to find the TLS certificates. Next, we configure the ciphers that we’ll allow on this site. These specific ciphers are recommended by Mozilla for ‘modern’ compatibility. If you need to support older stuff, you’ll have to investigate allowing less secure ciphers.
After that, we have several location blocks that tell nginx what to do with different requests. The first and second rules tell nginx to check for a matching file (that’s the try_files). If it finds a file, like an image, CSS, JS, etc., nginx will serve that file directly. If there isn’t a matching file, it passes it to @apache, which is defined in the next rule. Nginx is faster at serving raw files than Apache, so we want it serving files where possible.
The next two location rules tell nginx to pass any requests for .php files or requests ending in / to apache, as well. We pass these to apache because it’s faster at handling php requests. In these cases, I’ve got Apache running locally on port 8081. We need to forward the headers and request host to Apache to make sure that Apache still knows what to do to handle the requests properly.
Finally, the last location rule tells nginx to deny access to any files beginning in ., which are hidden files that really shouldn’t be shown to the public.
With a quick restart of nginx, your new configuration should take effect.
Configuring Apache
Luckily, as far as configuration goes, nginx does most of the heavy lifting. It only forwards the appropriate requests to Apache, so our Apache configuration is pretty straightforward. Of course, the most important thing that you need to do is tell Apache to listen on a different port than nginx. By default, both nginx and Apache listen on port 80. I decided to tell Apache to listen on port 8081 by specifying that in my httpd.conf file – by changing the Listen line to Listen 8081.
To configure my site, I simply used the following:
<VirtualHost *:8081>
    ServerName example.com

    DocumentRoot /usr/share/httpd/example.com

    <Directory />
        Options FollowSymLinks
        AllowOverride None
    </Directory>

    <Directory /usr/share/httpd/example.com>
        Options Indexes FollowSymLinks MultiViews
        AllowOverride All
        Order allow,deny
        allow from all
        Require all granted
    </Directory>
</VirtualHost>
It’s a pretty simple configuration – just telling Apache what to listen to and where to find the applicable files. And that does it for our web server configuration! Finally, we just need to tell WordPress that it needs to just use https.
Configuring WordPress
You see, the primary difficulty with the WordPress portion of things lies in the fact that WordPress normally assumes it’s running on Apache, with no proxy set up.
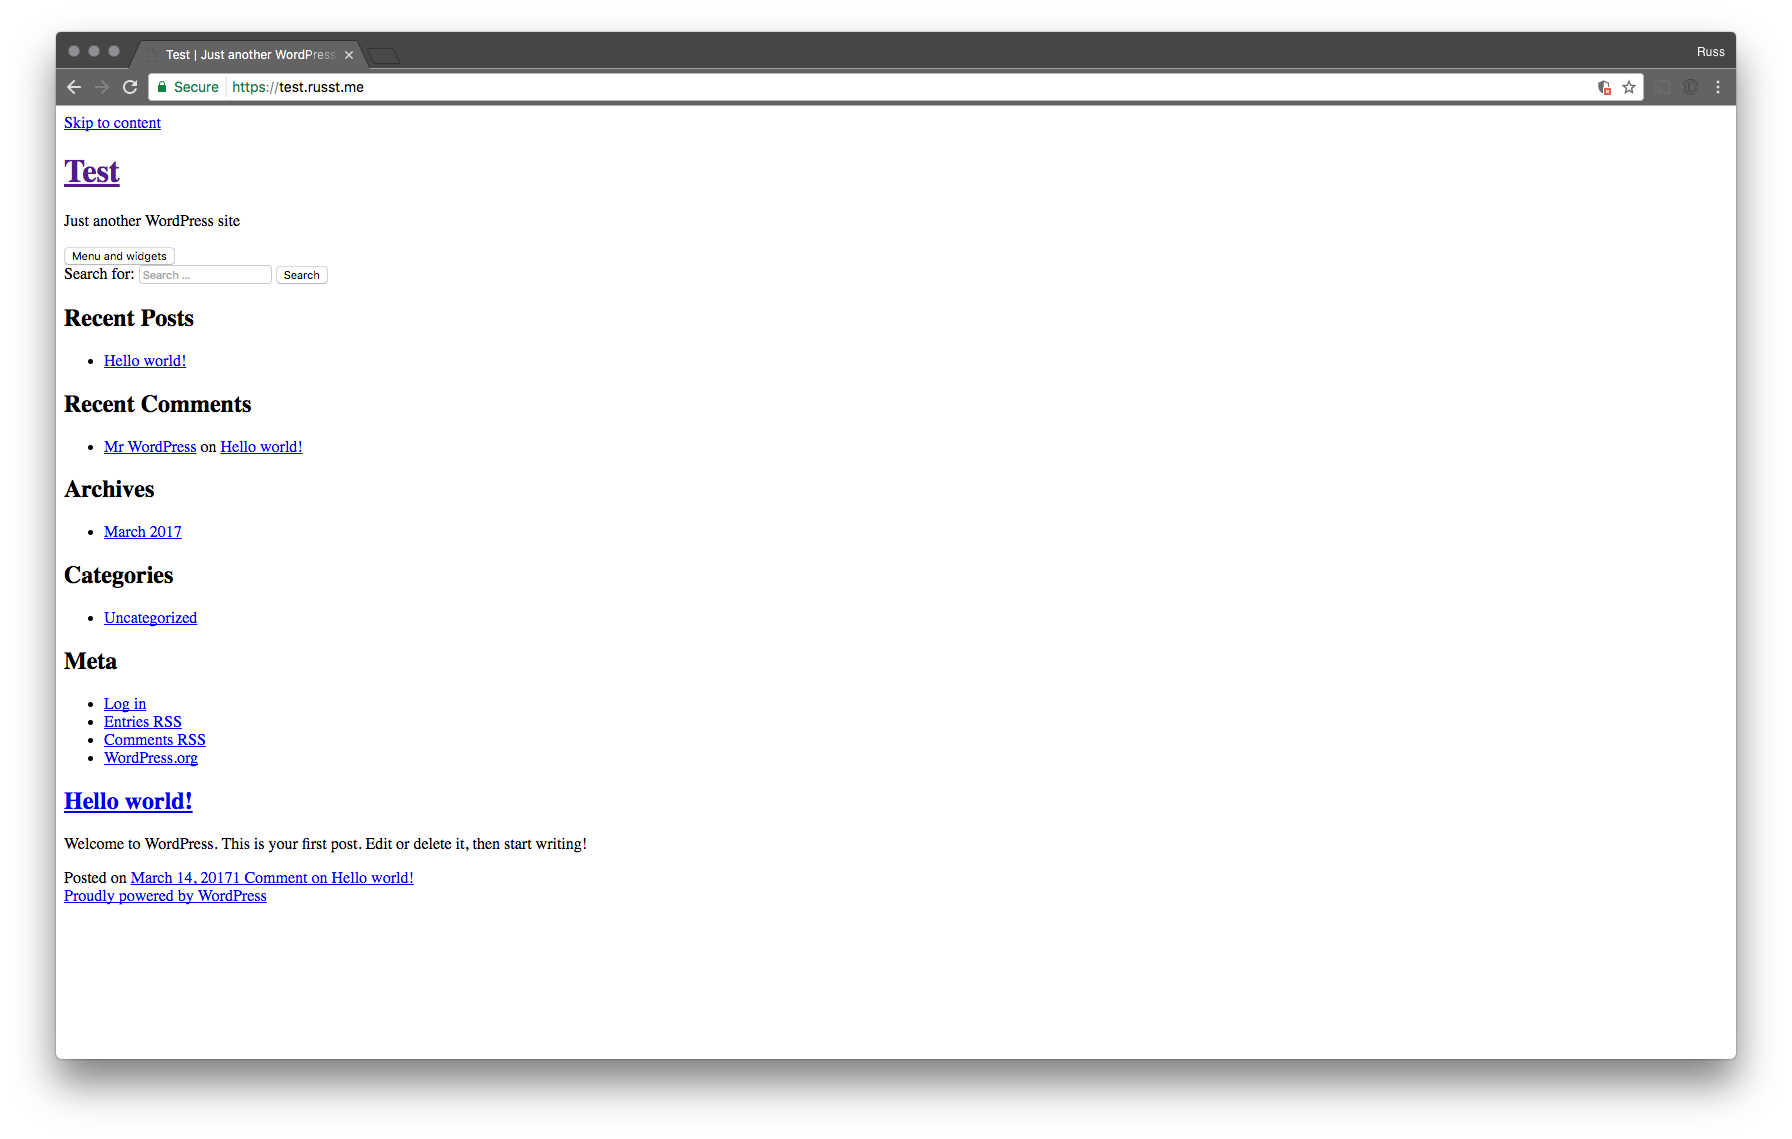
Now, if you set up a redirect from http to https for your site before you set your site URL to https, your site wouldn’t be able to load any of your assets (unless you enable mixed-content). It makes your site look awesome:
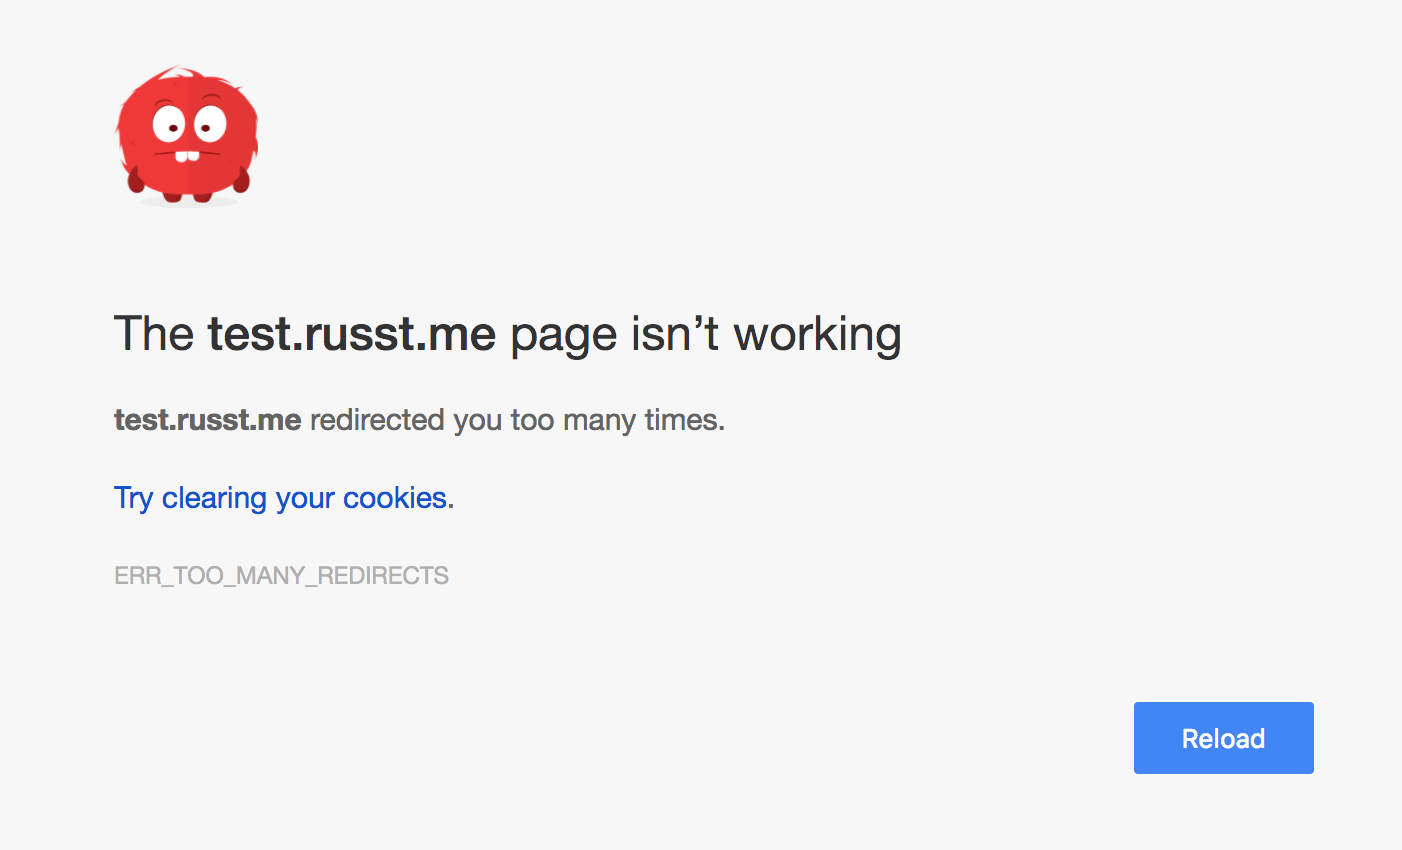
What’s better is that if you tried to access your control panel, you would end up stuck in a redirect loop, endlessly going from HTTP to HTTPS and back. It results in your browser showing something like this:
But since you’ve got your web servers configured to temporarily allow http, this is a pretty easy fix. First, log in to your control panel. There, you’re going to need to access ‘Settings ▶ General’. Finally, update both your ‘WordPress Address’ and ‘Site Address’ to use https instead of http.
Next, we need to configure a couple of settings in our WordPress installation’s config.php file. These are pretty simple, and the process is outlined in the WordPress documentation. We need to add the following lines to config:
define('FORCE_SSL_ADMIN', true);
if (strpos($_SERVER['HTTP_X_FORWARDED_PROTO'], 'https') !== false)
    $_SERVER['HTTPS']='on';
These lines tell WordPress that we want to use the control panel over HTTPS. If we leave these out, we end up in the endless redirect loop I mentioned up above. Now, you’re ready to force all your traffic to use HTTPS.

Force Encryption
Finally, we’ve got to make the final adjustment to our config, that will force all traffic over HTTPS. It’s really straightforward – just change the first server block in your nginx config file to something like this:
server {
    listen 80;

    server_name example.com;
    server_tokens off;

    return 301 https://$server_name$request_uri;
}
All this does is return a 301 Status Code, telling users’ browsers that an address has moved permanently – all major browsers will automatically redirect them to the exact same address, but using https instead. It’s a simple way to force traffic to use https.
With one final restart of nginx, you’re good to go! All your wordpress traffic will be set up to use https.
Leave a Reply to Igor Cancel reply