Awhile back, when wildcard certs first became available from Let’s Encrypt, I wrote a post about using Google Cloud DNS to create wildcard certificates. Since then, however, it’s come to my attention that Cloudflare offers DNS for free that interacts with an API. So I figured, why not move over to use Cloudflare’s DNS, instead? This post explains how to set up wildcard certs using Cloudflare’s DNS.
Setting up Cloudflare
Before you do anything else, you’ll need an account with Cloudflare. If you already have one, that’s great! You’ll need to import whatever domain you want to set up wildcard certs for – just follow the steps that Cloudflare gives you. The awesome thing is that Cloudflare will automatically detect your existing records (or at least try to) and import them for you. It might miss some, so just be aware and manually add any that it’s missing.
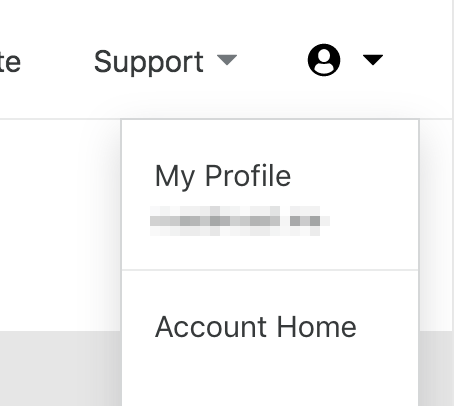
Finally, you’ll need to retrieve your Cloudflare API key, so that certbot can add the records that Let’s Encrypt needs to verify your ownership of the domain. To do that, you’ll need to click the ‘profile’ dropdown in the top right, then click ‘My Profile’:
Then, scroll down to the bottom of the page, where you’ll see links to get your API keys:
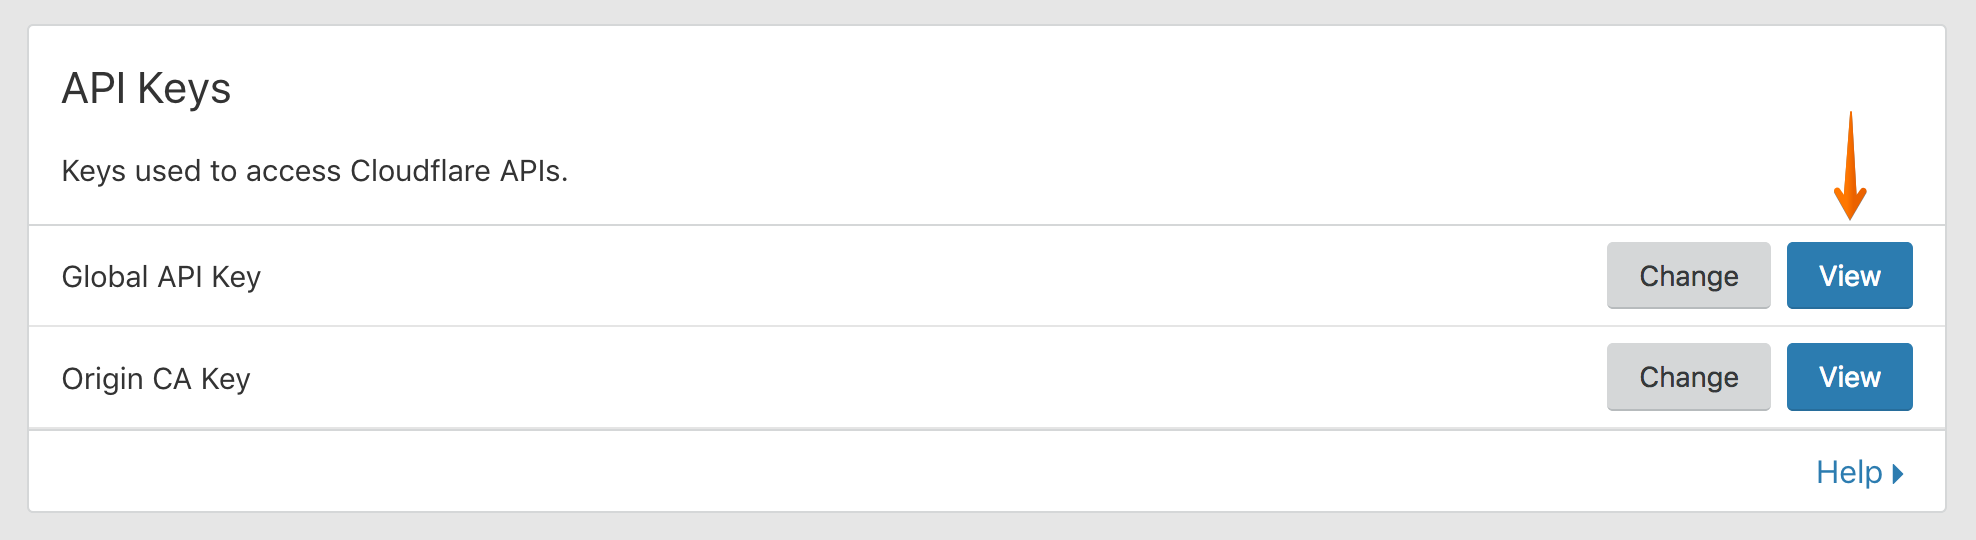
Click ‘View’ next to show your Global API Key. Naturally, make note of this – you’ll need it later on.
Issuing Certificates
Like we did in our previous post, we’re going to use Docker to run certbot so that we can get our certificates without installing certbot and its dependencies. I’m doing this for the sake of simplicity, but if you’d rather avoid Docker, you’re free to install everything.
Credentials
To use our API key, we need to have it wherever we’re running our Docker container from. In my case, I’m running it on my web server, but you can run it from any machine. Following the Cloudflare docs from Certbot, I used the following format for my credentials:
# Cloudflare API credentials used by Certbot
dns_cloudflare_email = [email protected]
dns_cloudflare_api_key = 0123456789abcdef0123456789abcdef01234567
I placed the file in my ~/.secrets/certbot directory, called cloudflare.ini. I’ll be able to mount this directory to the Docker container later, so it’ll be available to certbot running inside the container.
Volumes
We’ll need to mount a few things so that our Docker container has access to them – first off, we need the credentials to be accessible. Second, we need to mount the location where the certificates will be placed, so that they persist when we shut down our container. And finally, we’ll mount the location where certbot places its backups. In the end, our Docker volume will look something like this:
-v "/etc/letsencrypt:/etc/letsencrypt" \
-v "/var/lib/letsencrypt:/var/lib/letsencrypt" \
-v "/home/$(whoami)/.secrets/certbot:/secrets"
Docker & Certbot Arguments
Now, we just have to formulate the entire command to grab our certificate. Here’s the command we’ll be using, with the explanation below:
sudo docker run -it --name certbot --rm \
    -v "/etc/letsencrypt:/etc/letsencrypt" \
    -v "/var/lib/letsencrypt:/var/lib/letsencrypt" \
    -v "/home/$(whoami)/.secrets/certbot:/secrets" \
    certbot/dns-cloudflare \
    certonly \
    --dns-cloudflare \
    --dns-cloudflare-credentials /secrets/cloudflare.ini \
    --server https://acme-v02.api.letsencrypt.org/directory \
    -d '*.example.com' \
    -d 'example.com'
So here’s what we’re telling Docker to do:
--name certbot: Run a container namedcertbot--rm: Remove that container after it’s run-vflags: mount the volumes we specified abovecertbot/dns-cloudflare: Run certbot’s dns-cloudflare imagecertonly: We’re only issuing the certificate, not installing it--dns-cloudflare: Tell certbot itself (inside the image) that we’re using Cloudflare’s DNS to validate domain ownership--dns-cloudflare-credentials <path>: Specify the path (inside the container) to the credentials--server <server>: Use the acme-v02 server, the only one that currently supports wildcard certificates-d <domain-name>: Issue the certificate for the specified domain name(s)
Since my last post, I realized that by using the -d flag twice, once for *.example.com and once for example.com, you can get a single certificate that covers example.com and all of its subdomains.
Conclusion
That’s really all there is to it! You’ll have a nice, new certificate sitting on your disk, just waiting to be used. If you’ve got any comments or questions, drop them in the section down below!
Leave a Reply