In the time since I actually learned something about deploying to the web, I’ve been extremely unhappy with my WordPress development workflow. As a result, I haven’t developed any WordPress themes or plugins in quite a few years. I’ve just used themes and plugins as-is, but I’ve finally decided that I want to actually build myself a decent theme.
WordPress Development Challenges
There are a few challenges associated with developing on WordPress. First, you (of course) want your theme/plugin files under source control, but they still have to be inside the WordPress directory (okay, you could solve this with symlinks). But then you’re still running a local install of Apache, PHP, and MySQL, or else you’re doing your development directly on a VM or something. I generally prefer not having MySQL and Apache running all the time on my development machine. And, as you may suspect, I certainly don’t want the core WordPress files under source control. That’d just make for plenty of trouble when upgrading WordPress or installing/enabling/disabling themes or plugins.
A Containerized Solution
Luckily, it’s actually really easy now to set up a docker-based solution. So you can develop and run the site locally, keep your files under source control, but not have to be running an Apache/MySQL/PHP stack on your development machine (at least not directly).
First up, you’ll need to install Docker (if you haven’t already). I won’t go into the details here, but you can get a start by heading to the Docker Community Edition page. Once you’ve got it installed, create a new directory for your project (unless you’ve already got one). Inside that directory, create a new file called docker-compose.yml.
We’re going to use Docker Compose, which is a tool which can launch multiple containers and link them together as necessary. This is super useful for use cases like ours, because we need to set up a container for both WordPress and MySQL. In your docker-compose.yml file, put the following:
version: '2'

services:
    wordpress:
        image: wordpress:php7.1
        ports:
            - 8080:80
        environment:
            WORDPRESS_DB_PASSWORD: super-secure-password
        volumes:
            - ./{DIRECTORY}:/var/www/html/wp-content/{themes/plugins}/{DIRECTORY}
    mysql:
        image: mariadb
        environment:
            MYSQL_ROOT_PASSWORD: super-secure-password
Of course, you’ll want to replace super-secure-password with an actual password (not quite so important for local development), and replace the two {DIRECTORY}s with the directory that you’re developing your project in. In my case, it’s a starter theme. Finally, replace {themes/plugins} with the proper directory, depending on whether you’re developing a plugin or a theme. I used themes, since I’m developing a theme.
Now, what this is doing is telling Docker that we want two images: One ‘WordPress’ image (you can see the list of available versions on this Docker Store page) and one ‘MySQL image’. In this case, I’m using mariadb.
We’re then configuring the containers by passing them environment variables – the same password being passed to both images. This’ll actually let them connect to each other. In case you hadn’t guessed it, these are set up by the creators of each image to allow you to configure them on-the-fly.
Finally, we’re mapping a local directory to /var/www/html/wp-content/..., which will place our local files in the correct directory in the actual WordPress container. It’s pretty awesome.
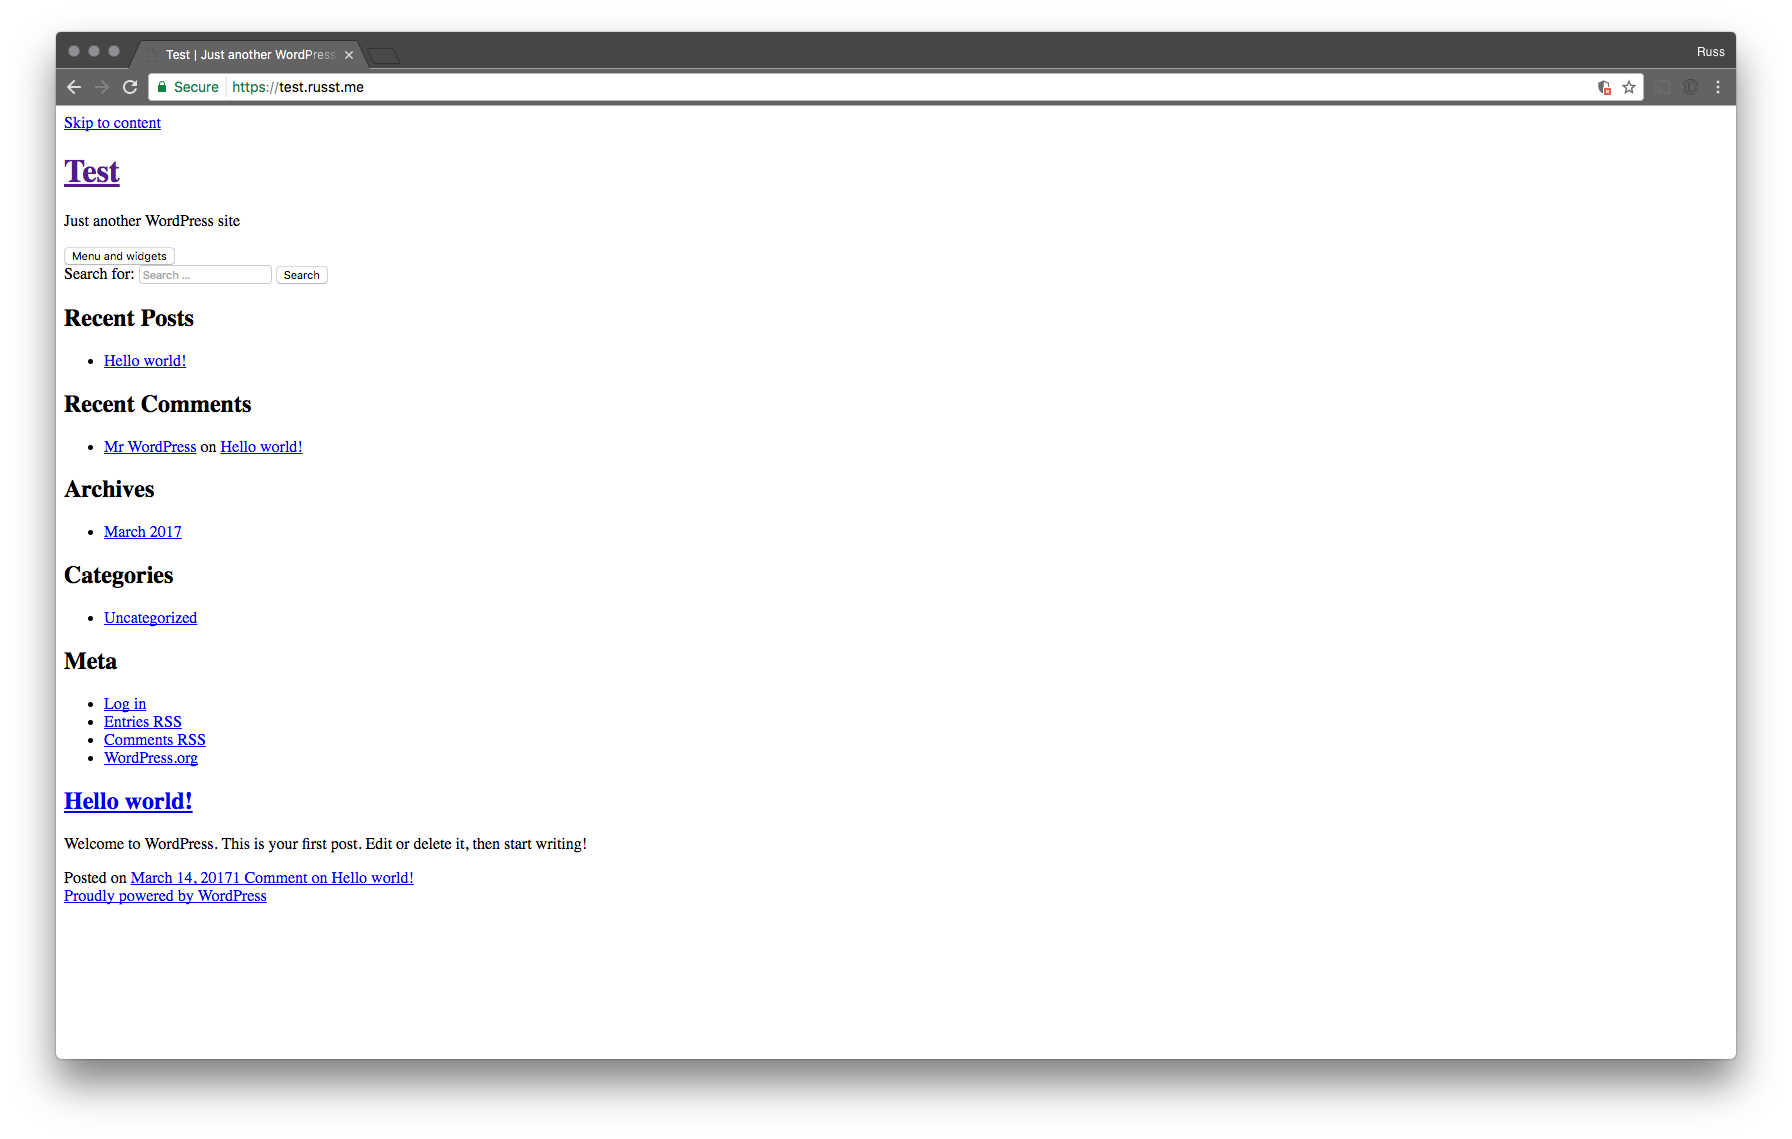
All you need to do now is run docker-compose up, wait for your containers to start, and then access your brand-spanking-new WordPress development site at http://localhost:8080. You’ll have to go through the installation, and if you want to, you can load in some sample data. When you want to stop it, just hit Ctrl+C in that console. Finally, you can enable your theme/plugin in your WordPress settings.
I’ll leave it up to you to decide how exactly you want to deploy it, though.
Conclusion
Docker compose makes this super easy, and it takes very little configuration to get up and running. The extra bonus is that you can check your docker-compose.yml file into your source control, and then you’ve got it saved for later development (or development from another machine). All you need is Docker (and an Internet connection, at least to start).
